To use a grid lets you copy images accurately maintaining its exact proportions. With this technique you learn to see the dimensions of shapes and we succeeds our drawing thanks to the connection ot the points.
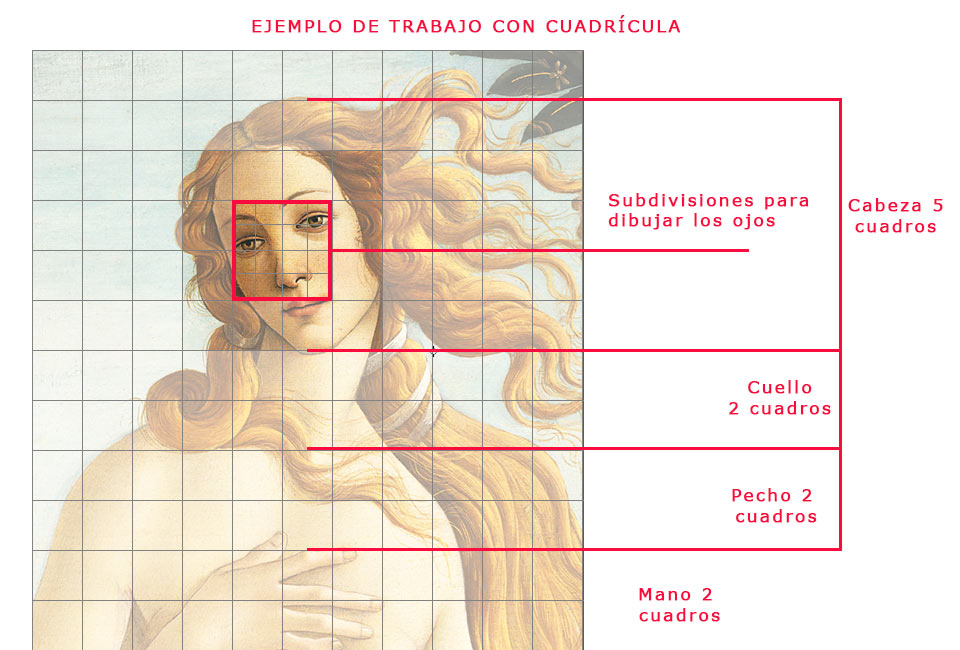
This is an example of how you could draw the face of “Venus rising from the sea” by Botticelli with the help of a grid.
Furthermore, with this technique we can expand the drawings without using the computer or a photocopier. The grid makes easier the work and we avoid deforming the image.
All of this has relation with the proportionality : a measure is proportional to another when increases or decreases equally or inversely.
In short, if you’re trying to copy a picture and you see that it’s not equal … try to use a grid, is the easiest and simplest way to reproduce images exactly.
Easy exercise to learn how to draw with a grid
The best is to start learning this technique with simple and easy art materials. Then, once understood the technique, we can apply it on canvas and other materials.
Start to meet this method with: paper, pencil, eraser, ruler and the original image that we are going to copy (a photocopie).
The use of this technique requires scratching the original image, because we need to draw a grid over the image. If you don’t want to spoil the original image you can draw the grid over a transparent acetate sheet ant we put this one over the original photo. Also, if you want to use this technique with several drawings, to have a grid drawn will save you time in the implementation of the reproductions.
Basic Steps to draw with grid:
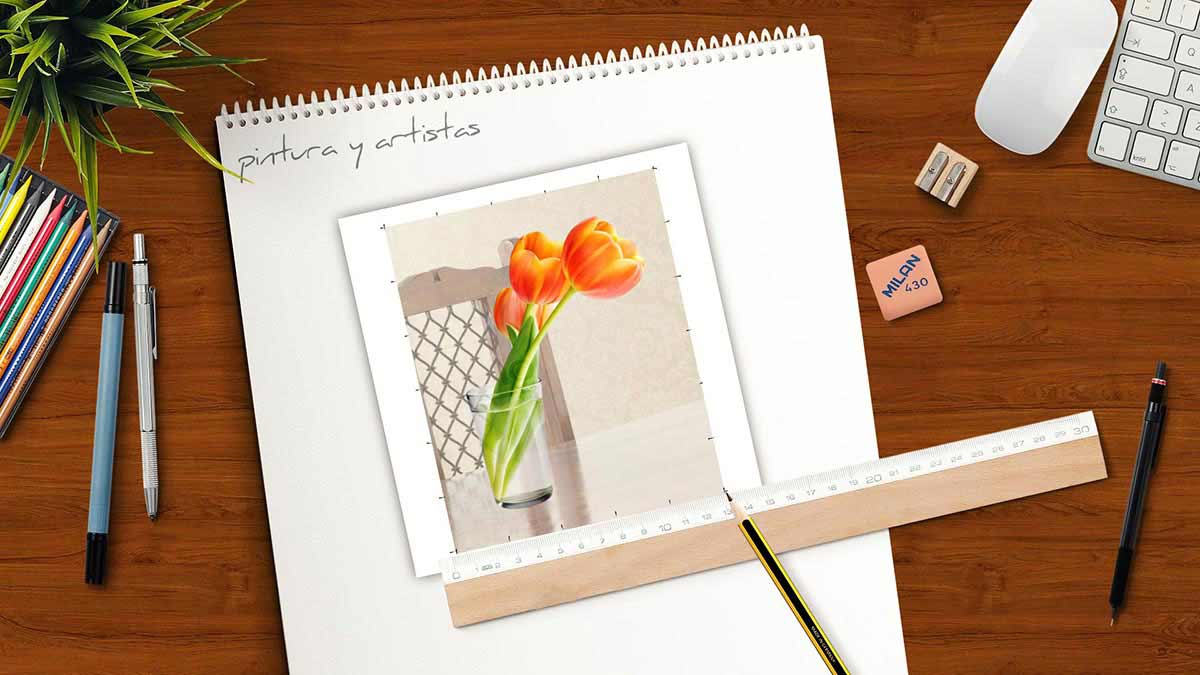
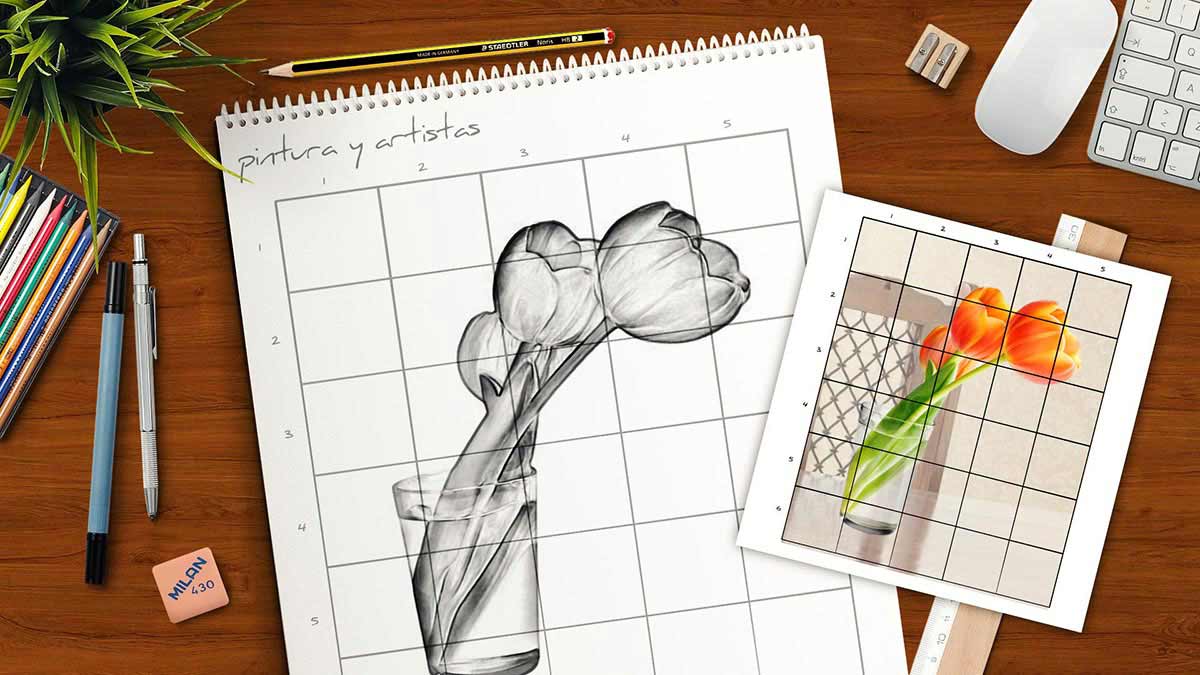
Step 1. Choose the image that you want to copy into the paper.
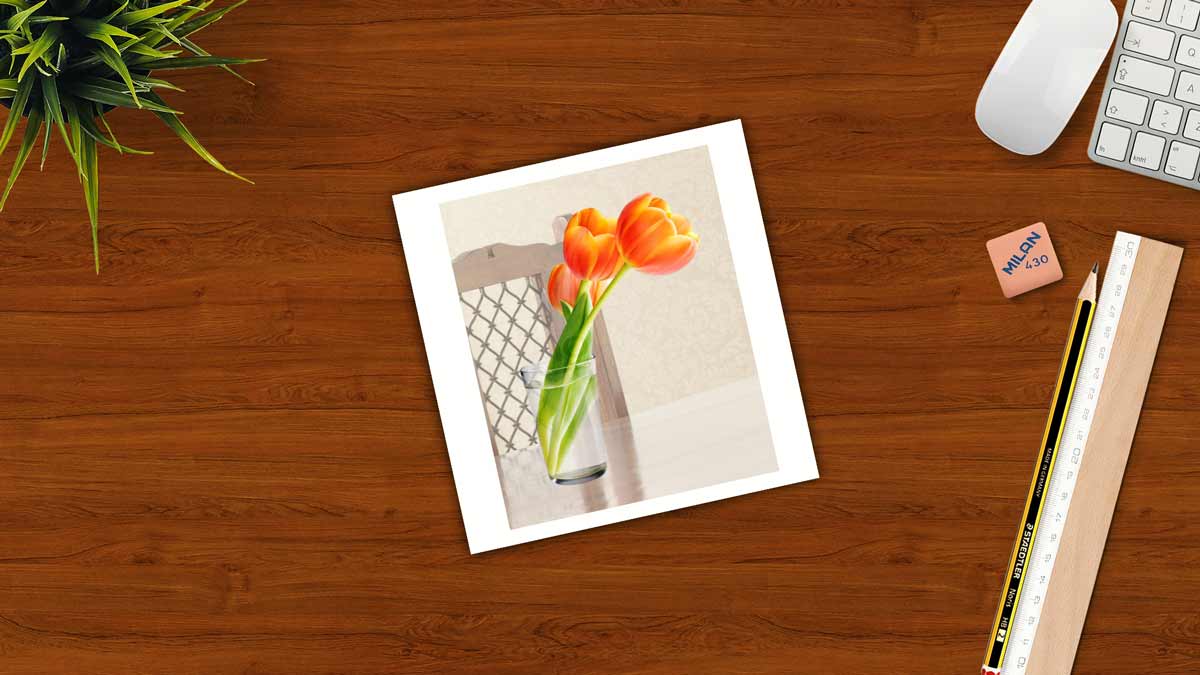
You can print the photo from your computer or to do a photocopie. This picture with a glass and some tulips will serve us as example. If you picture is very complicated and you need to see more details, you can start with the main drawing and later, to repeat the technique for this portion of the image.
Step 2. Choose the paper (or support) where you will reproduce the drawing.
The paper or media must have the same proportions as the image: If the original image is square, the paper/media should also be square. If the image is rectangular, then the media should be too.
You have two options to decide the stand: One way is to decide the scale in advance and then to look for the media which contains the desired dimensions. And another way is to adapt the grid to the selected media.
For the first way, we must now consider whether we want to copy the image larger or smaller than the picture dimensions. If we want to make a drawing with the scale double or triple that our photograph, the support must also measure the double or triple. If we want the drawing 10 times bigger, then we have to select a paper/media 10 times bigger than our picture. Then you buy the paper according to the size you want.
For the second system, we must calculate the dimensions of the grid that we will draw on the support or paper, and this I explain it in step 4.
Step 3. We will draw the grid over the original image that we want to copy .
First we have to decide the distance between the lines or how many lines will form the grid, to choose the amount of cells (reference squares). The more lines we do, the more squares and more benchmarks we will have to draw.
Indeed: the more squares we have, the easier is to accurately reproduce the drawing. But attention, you’ll have to work more! In addition, working with many cells can be disconcerting … So, choose the number of cells in relation to your skill in drawing and to the difficulty or detail that your image has.
With the help of a rule we do the benchmarks from which we’ll draw the horizontal and vertical lines that form our grid. Remember: The distance between the lines must be the same throughout the grid, so we’ll have exact squares.
Once dotted throughout the image, we draw the horizontal and vertical lines keeping the same distances for a precise proportions grid. We start from top to bottom and from left to right, if we are working over paper, because this way we do not stain with our hands and the rule the paper or the image.

To list the rows and columns will help us when we are many time drawing.
Step 4. We will reproduce the pattern on the paper where we work.
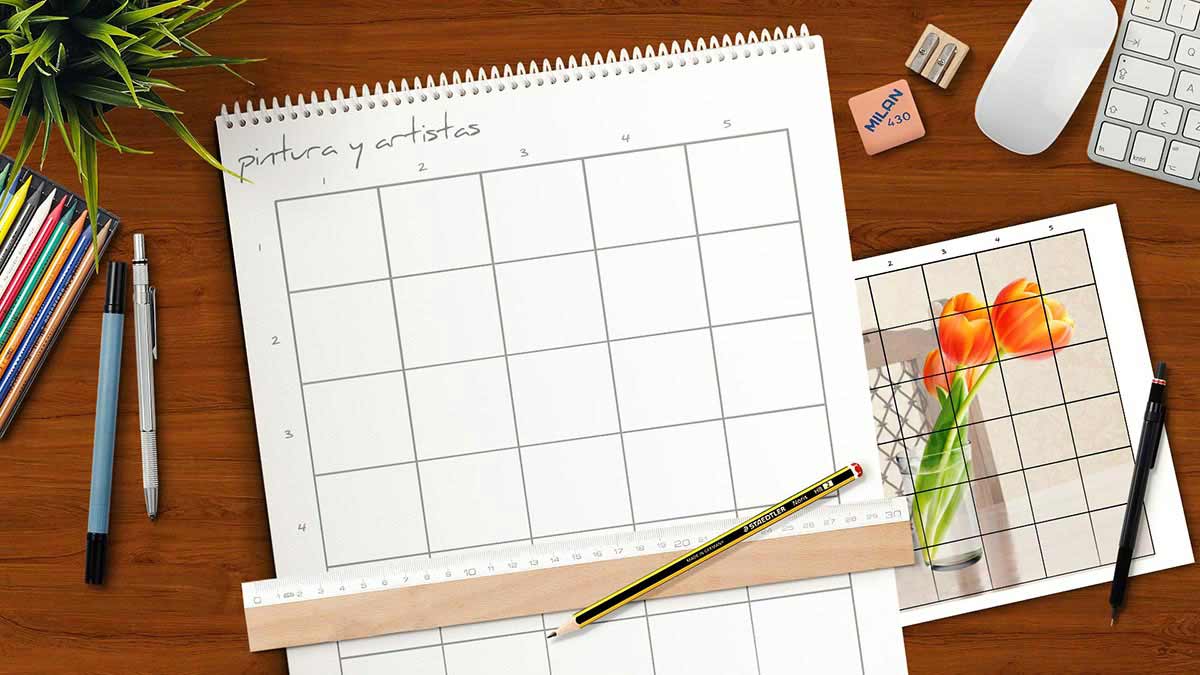
An idea is to use an soft pencil to draw the grid, and a half-hard mine pencil for drawing the picture. Especially, you avoid to push too hard with the pencil when you do the grid, for not to leave traces and to make easier to clean the grid when you have finish the drawing.
Now … once again the dimensions:
If the copied image will have the same size as the original image, we just have to copy the same grid with the same measures. If the copied image will be larger or smaller than the original, the grid will be draw largest or smallest, in proportion to the original image. How do you do this? Very easy:
We have the original image already gridded. We count the cells. We measure the surface of the paper where we will draw, and make this division:
We divide the total area where we will make the drawing by the number of cells that we have already drawn in the reference image. We obtain the size of each cell, to a proportional grid.
We divide the total area where we will make the drawing by the number of cells that we have already drawn in the reference image. We obtain the size of each cell, to a proportional grid.
Example: if the original image covers 15 cm and we have drawn five cells and the paper where we will draw measured 22.5 centimeters… How many centimeters must measure each of the five cells that we are going to draw ? 22.5 / 5 = 4.5 cm. Every line vertical and horizontal is separed by 4.5cm and every square mesures 4.5cm.
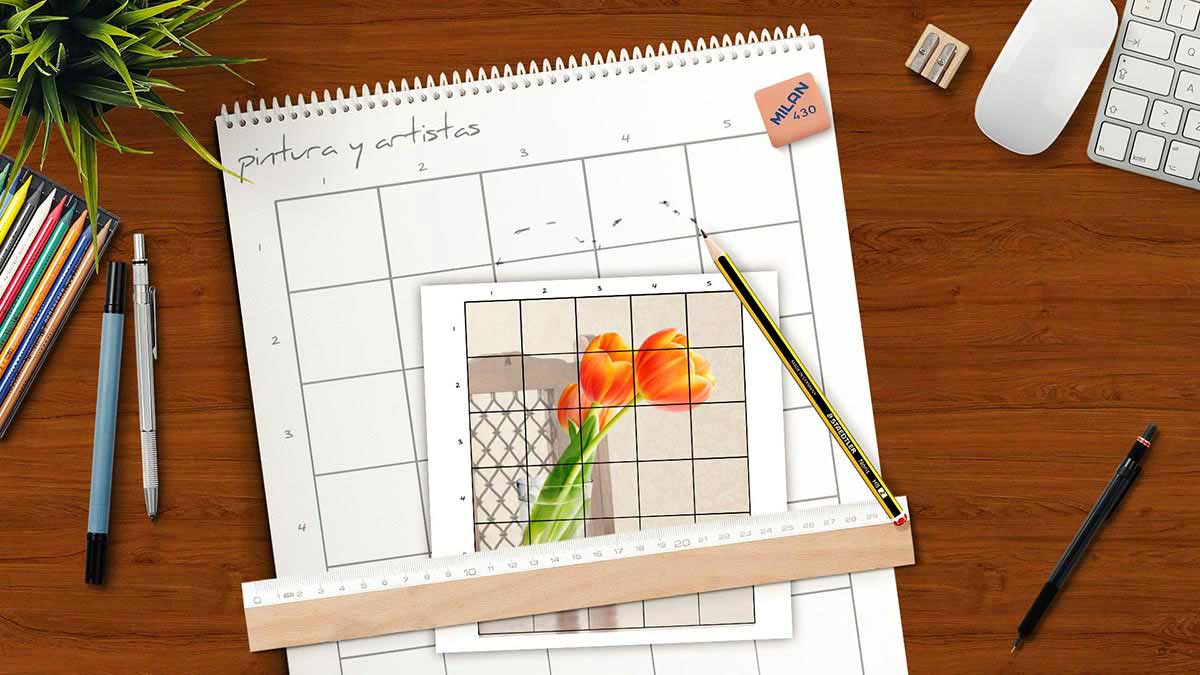
Step 5. We can start drawing.
Cell by cell, we start by marking the points that define the shape of image in each cell …
When we join the point we get the image :
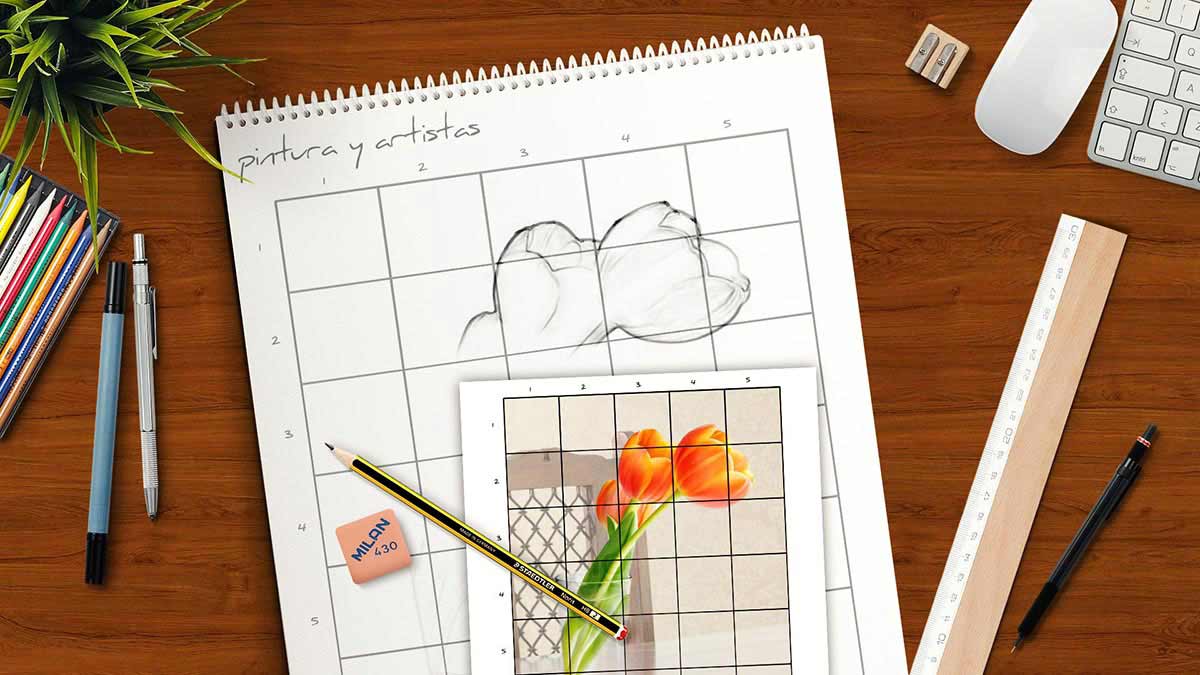
So, cell by cell we move in the drawing :
Once finished, we erase the grid to obtain a clear picture:
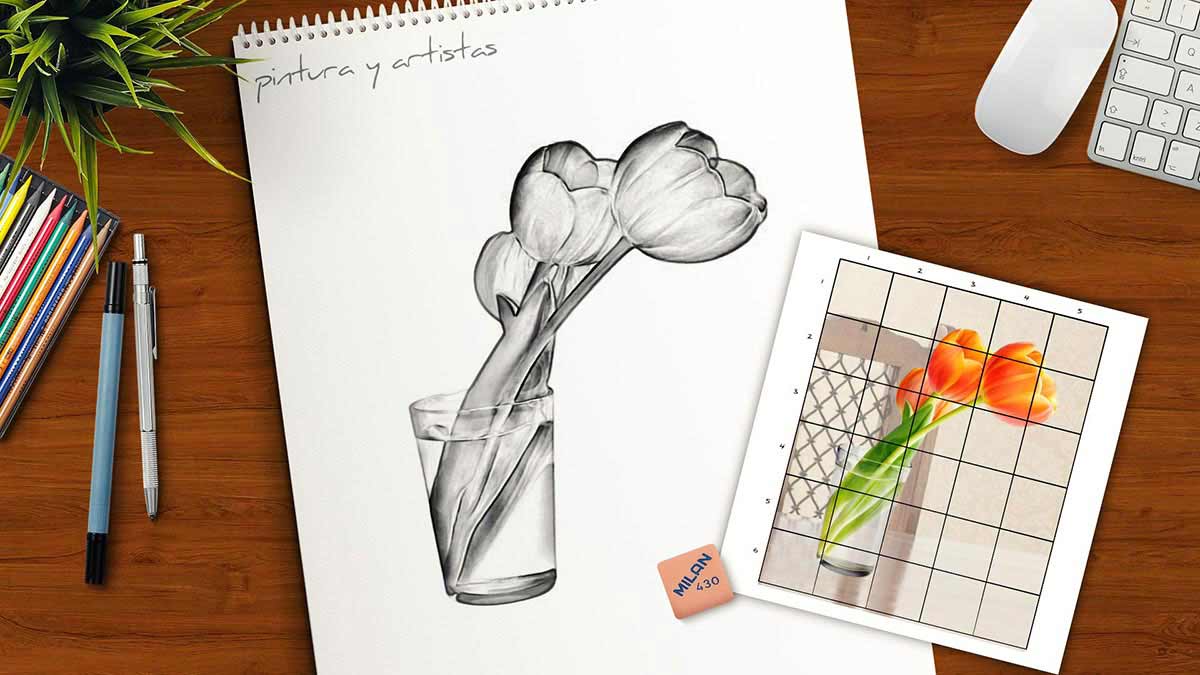
Once the drawing is completed and before we erase the grid, you can review the drawing with a marker or liquid ink pen to fix the image on the paper. If you do this, remember to wait that the ink is dry before clearing the grid for not smearing the ink!
Once you understood the method can work more difficult images, such as:
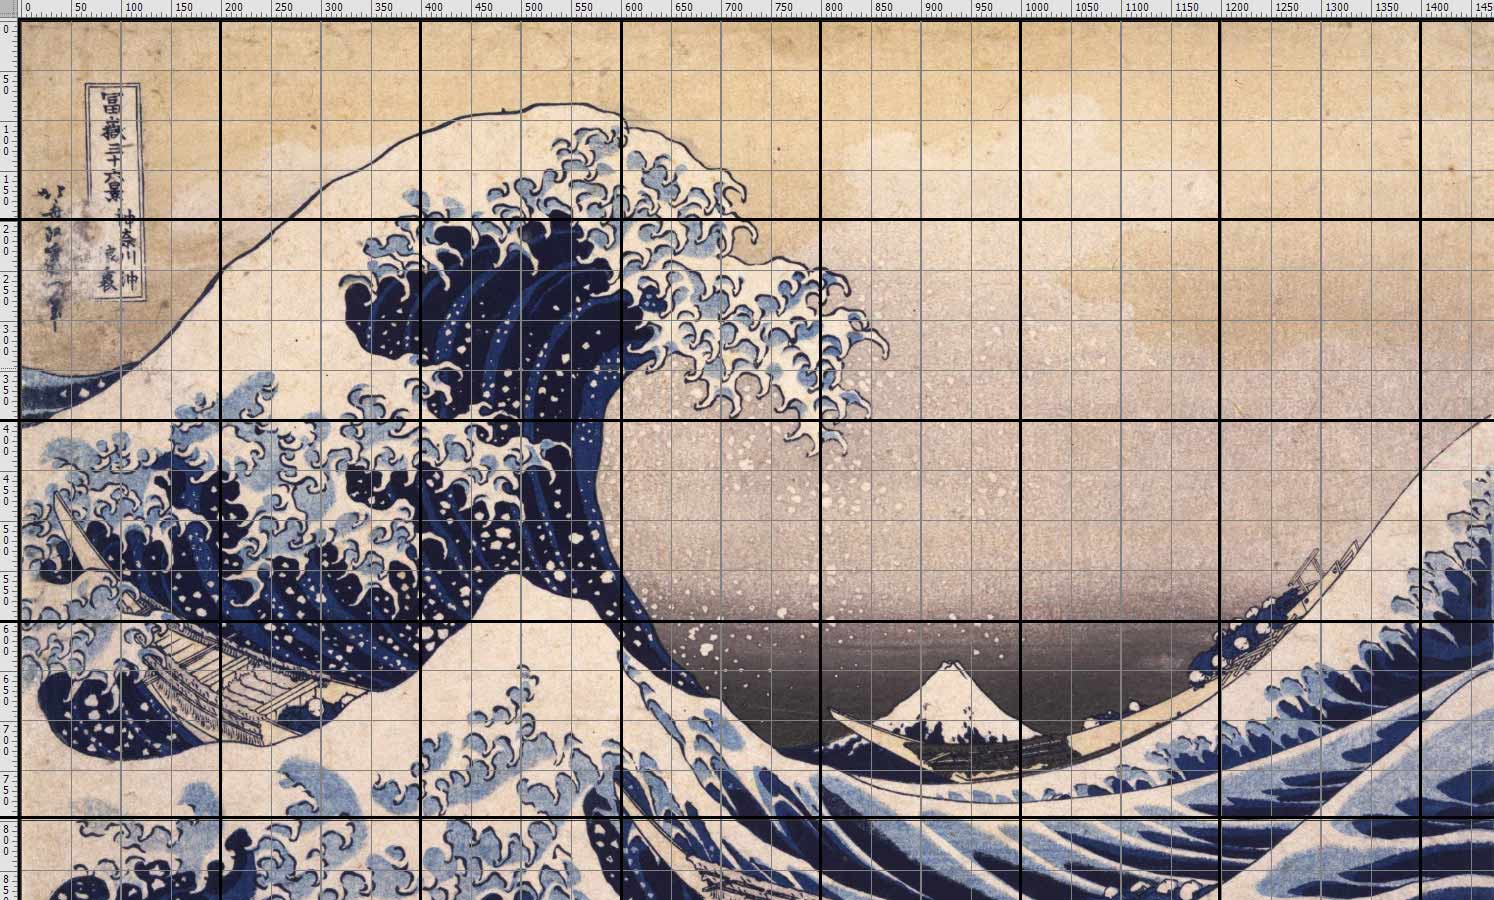
Thirty-six Views of Mount Fuji: The Great Wave of the coast of Kanagawa, by Katsushika Hokusai, a very famous drawing with lovely curves. Thanks to the grid we can copy this drawing to perfection. If you need to print details of this work I can always do it from here: Google Art Project.
The key of drawing is to learn to measure. When you integrate the grid you start to draw taking measures that your mind knows how to take. Using the imagination we can visualize the horizontal and vertical lines that connect the shapes. At the end, you will not need the grid and you will see the proportions of the figures, thanks to integrate the method. But this can only be achieved with practice and we must always begin with the drawing grid.